
Posted on: March 19th 2021

 Hub
Hub
For all things candle and home fragrance making!
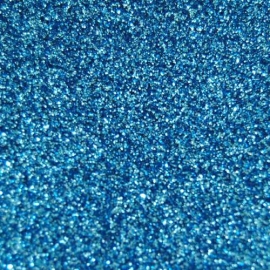
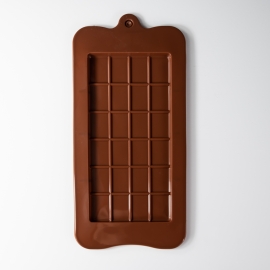
Firstly using glitter, mica or botanicals, decorate your chosen mould!
Using your bowl and scales, measure out around 60 grams of Pillar Wax for each mould.
Next up, fill your pan halfway with boiling water, melting your wax on a medium to low heat and stirring until melted.
Once your wax has melted, you can take it off the heat to cool.
If you prefer to melt your max in the microwave, you can do so by placing your wax in a container on a medium heat for 5 minutes stopping at 30-second intervals to stir.
If your wax is not completely melted, stir and put it back in the microwave until melted.
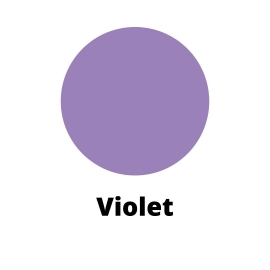
Add your chosen colour liquid or chip dye to your wax and stir.
We have opted for violet chip dye to create a soft purple finish!
You can add your dye at any temperature, just remember to stir thoroughly.
Wait until your wax has cooled to 65 degrees Celcius and add your chosen fragrance oil, stirring thoroughly.
Allow your wax to cool to between 55 to 60 degrees Celcius.
Transfer your wax into a pouring jug and pour your wax into your moulds.
Leave them to set overnight.
Remove your wax melts from their moulds and that's it! Leave to cure for a few weeks for an optimal hot throw when melted!

Everything you need to get started making your first candle.
Go to the Shop
Sign up to our mailing list to ensure you don't miss out and get 10% off your first order in your welcome email!

Leave a comment