
Posted on: October 15th 2020

 Hub
Hub
For all things candle and home fragrance making!
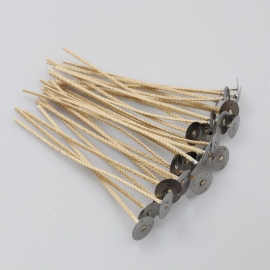
Peel off the wick stick um and place it onto the end of the candle wick.
Peel off the other side and place the wick in the middle of your candle glass.
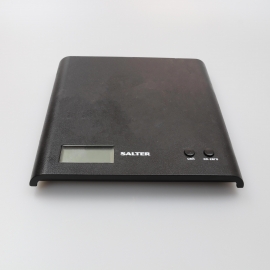
Measure your wax, we used a 30cl candle glass which holds around 220g of wax, split your measured out wax into three separate bowls, one for each layer.
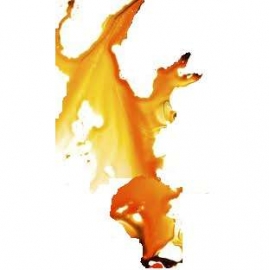
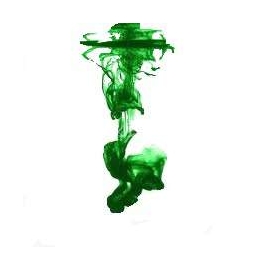
We chose to use three different colours from each other so that the layers stood out.
Colours like pink and red or orange and red may blend together as they are similar pigments so try opting for contrasting colours.
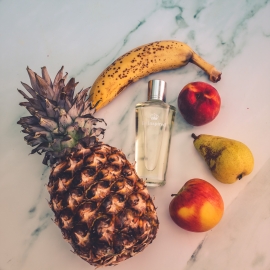
You will need to spilt your fragrance between each layer, we used a 30 cl glass which holds 220g, therefor you should use 22g of fragrance oil, which is around 7g for each layer (if creating 3 layers).
Our fragrance oils are 100% concentrated and compatible with our waxes up to 10%.
Fill your plan halfway with boiling water.
Melt your first wax layer on a medium to low heat and stir until melted.
Once your wax has melted thoroughly, take it off the heat.
Add your chosen dye and stir.
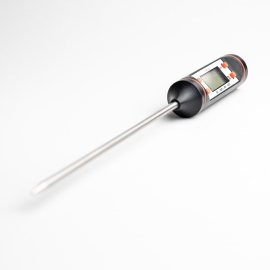
Wait until your wax has cooled to 65 degrees then add your chosen fragrance.
Using Blu Tack, angle your glass, press down so the glass is secure and will not move.
Transfer your wax into a pouring jug and then slowly pour your wax into your glass.
Then add your wick centering tool and wait around 2 hours before adding the next layer. 
Melt the wax for your next layer and add a different colour.
Wait until your wax has cooled to 65 degrees then add your chosen fragrance.
Position your glass at a different angle and slowly pour your next layer.
Then add your wick centering tool and wait around 2 hours before adding the next layer.
Melt the wax for your last layer and add a different colour.
Wait until your wax has cooled to 65 degrees then add your chosen fragrance.
For a flat top remove the Blu Tact and place the glass on a smooth surface.
Slowly pour your wax into your glass.
Then add your wick centering tool and leave your candle to set overnight. 
Now you know how to create a tilted layer candle, you can experiment with more layers and colours! 

Everything you need to get started making your first candle.
Go to the Shop
Sign up to our mailing list to ensure you don't miss out and get 10% off your first order in your welcome email!

Leave a comment